Installation guide tape method
Tape installation guide
Important information
- Because Spaza cannot anticipate all of the different possible surfaces and contaminants that may exist, it is imperative that the user conduct an evaluation to determine the suitability of surface preparations procedures, and any other processes that may have an influence on the tape or the bonded parts. Ensure you follow required local building codes for bathroom installations.
- Before installing our products, we recommend conducting a test installation in a designated room to assess functionality and compatibility. This proactive step helps identify and address potential issues before scaling up. Evaluate performance and ensure your team is familiar with the installation process. This preliminary trial enhances overall success and instills confidence in the seamless integration of our products throughout your hotel.
- The wall surface must be even, clean, and dry. We recommend using isopropanol (IPA) 70% dilution in water and a clean lint free cloth to ensure all surface are cleaned thoroughly. Only use included cleaning wipes in an unused environment. Consult a local 3M supplier or distributor to determine which of the available primers and surface promotors are most suitable.
- Bond strength is dependent upon the amount of adhesive-to-surface contact developed. If possible, try to avoid placing the bracket over grouts and uneven surfaces. Place the bracket on the wall in the right position and evaluate the contact before final installation. Firm application pressure in 60 seconds develops better adhesive contact and helps improve bond strength. The bracket should experience at least 1 kg/cm2 in pressure.
- After application, the bond strength will increase as the adhesive flows onto the surface. At room temperature, approximately 90% will be achieved after 24 hours and 100% after 72 hours. Using 3M VHB Primer will shorten these time intervals.
- Before installing, please make sure you have read our surface preparations and method selection section.
Position
Check surface
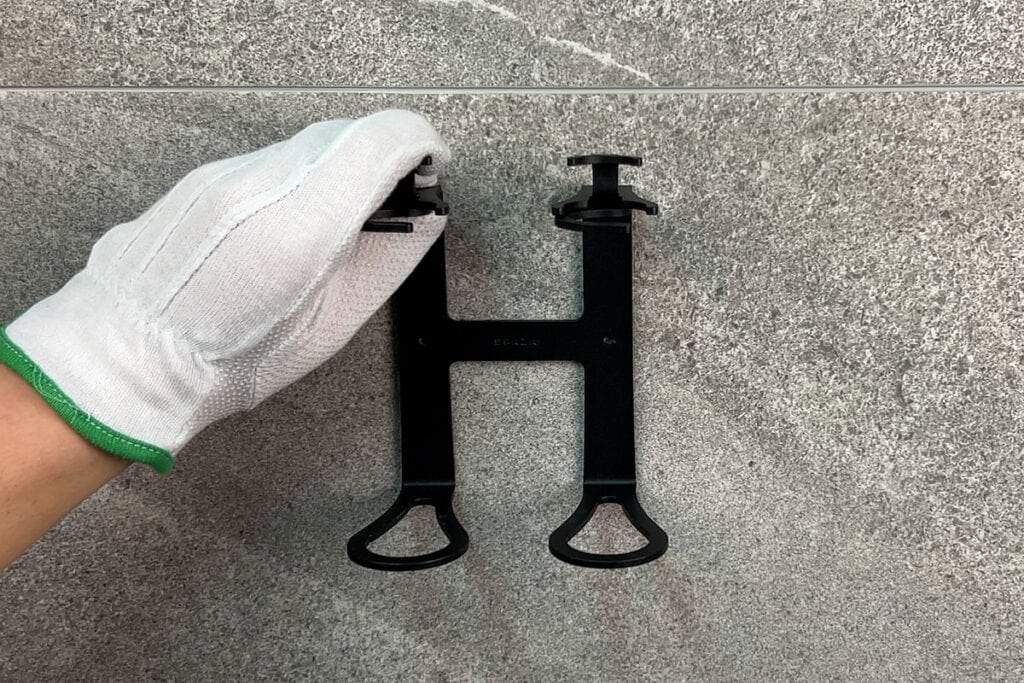
Make sure the contact surface is flat and even to ensure full contact of the adhesive tape.
- Avoid grouts.
Measure
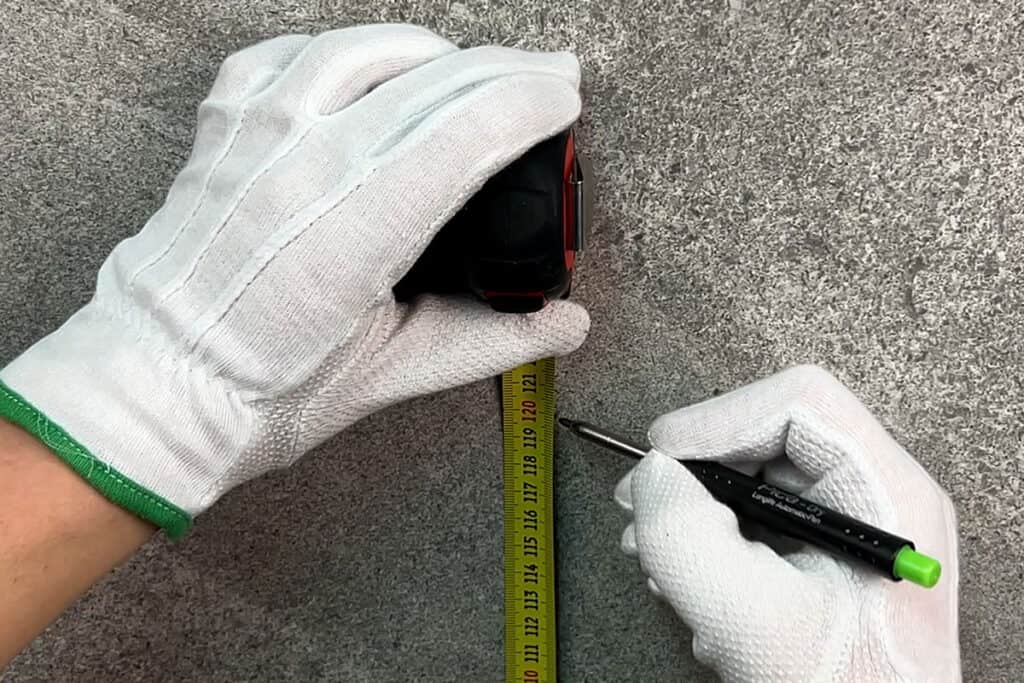
Measure 48 inches (120 cm) from floor to top of bracket, and mark position of each contact surface with pencil or piece of masking tape.*
*For ADA (Americans with Disabilities Act) designated rooms – we recommend installation at 41 inches (104 cm) for accessibility.
Surface preparations
Cleaning
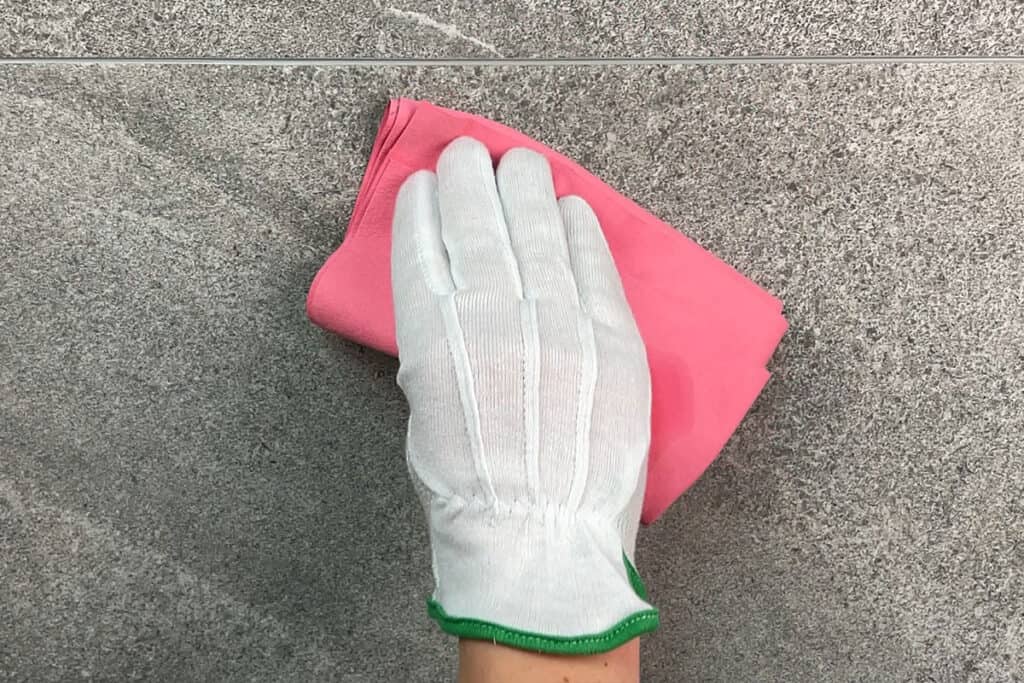
Clean all contact surfaces with isopropanol alcohol (IPA) to remove any greasy residue, let dry thoroughly prior to installation.
- Don't rub across the contact surface. Wipe in a vertical direction then fold the cleaning wipe to a new side and wipe a final stroke in a vertical direction.
Primer
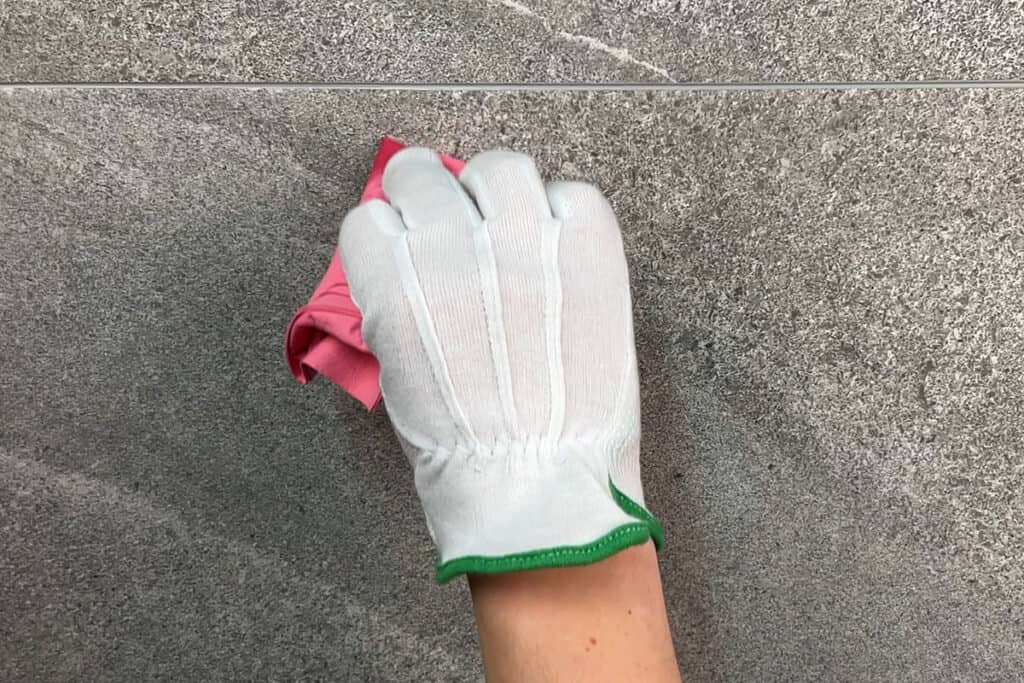
Applying a primer creates a new surface for the adhesive to bond to and will improve initial and ultimate adhesion to many materials.
Consult with a technician to determine which of the available primers that are suitable for you.
Install product
Remove strip
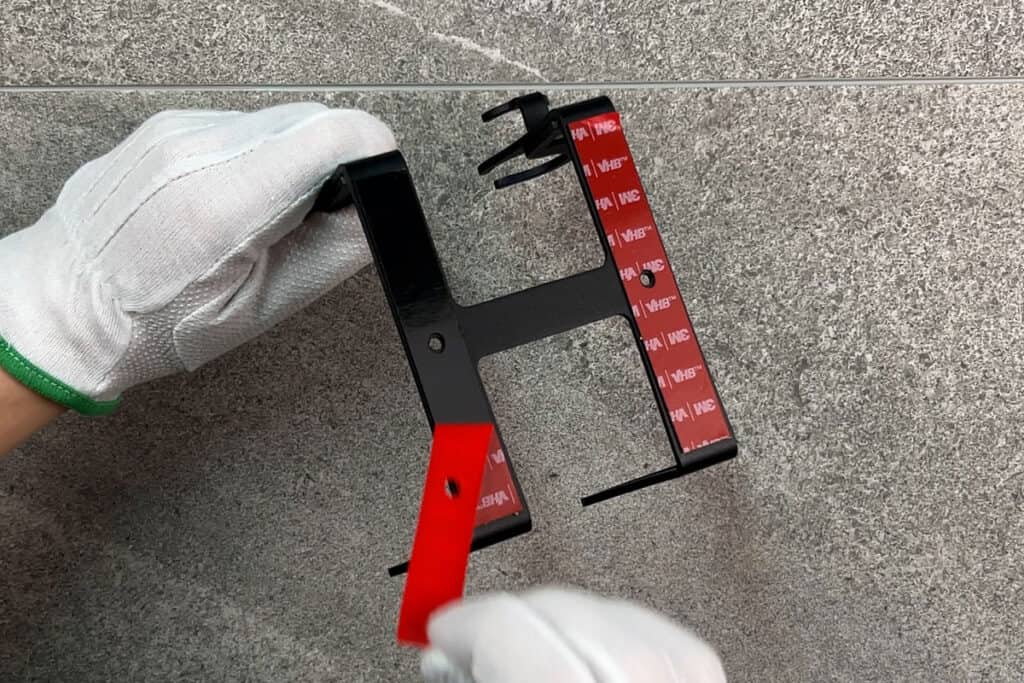
Peel of backing of adhesive strip on bracket, do not touch any of the adhesive tape or wall surface. Aim the bracket to the wall in level.
- Don't touch the adhesive side of the tape, use protective glows.
Pressure
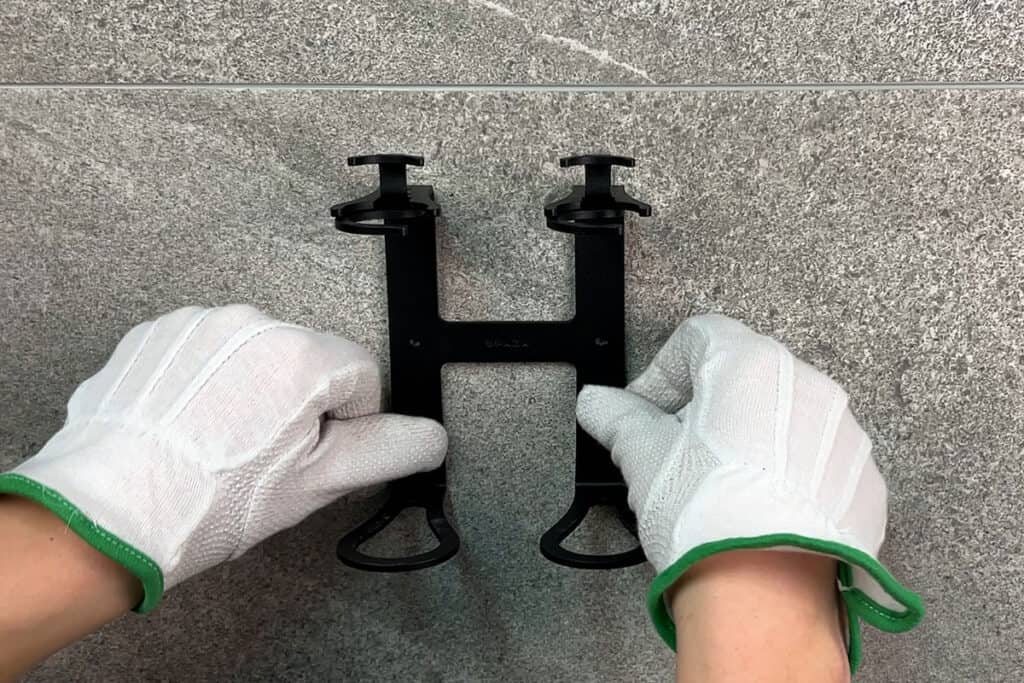
Press entire bracket against the wall for 30-60 seconds to ensure bracket has adhered to surface. Install cover plugs in the bracket screw holes.
Applying strong pressure during installation ensures optimal bonding between the tape and contact surface.
Wait
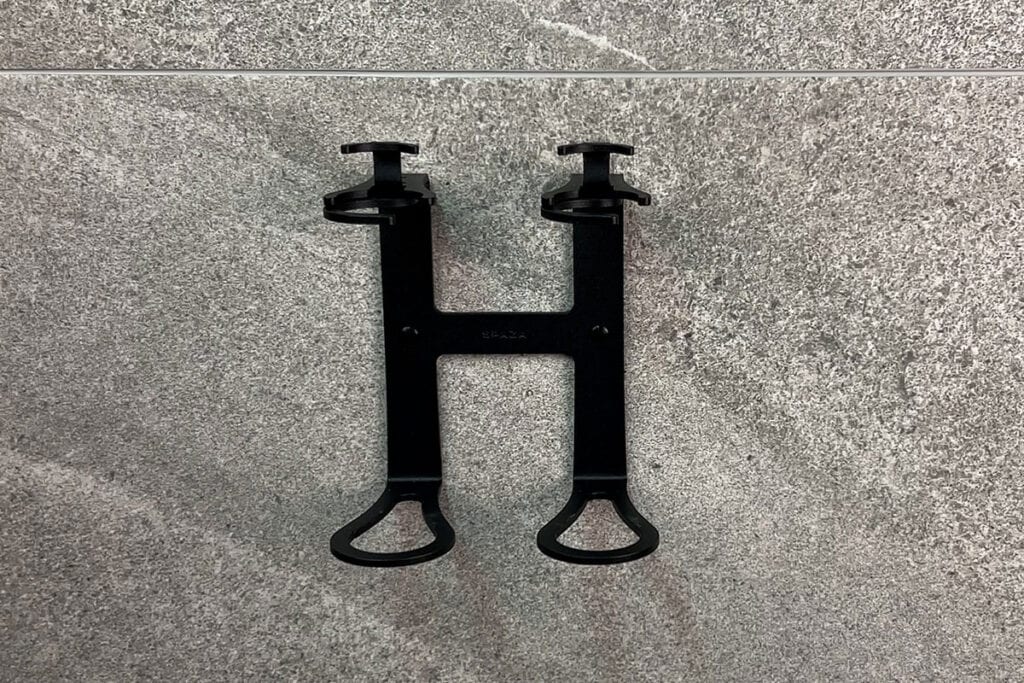
Leave bracket on the wall for at least 24 hours before use. For best result 48 hours.
Place bottle
Use Spaza key
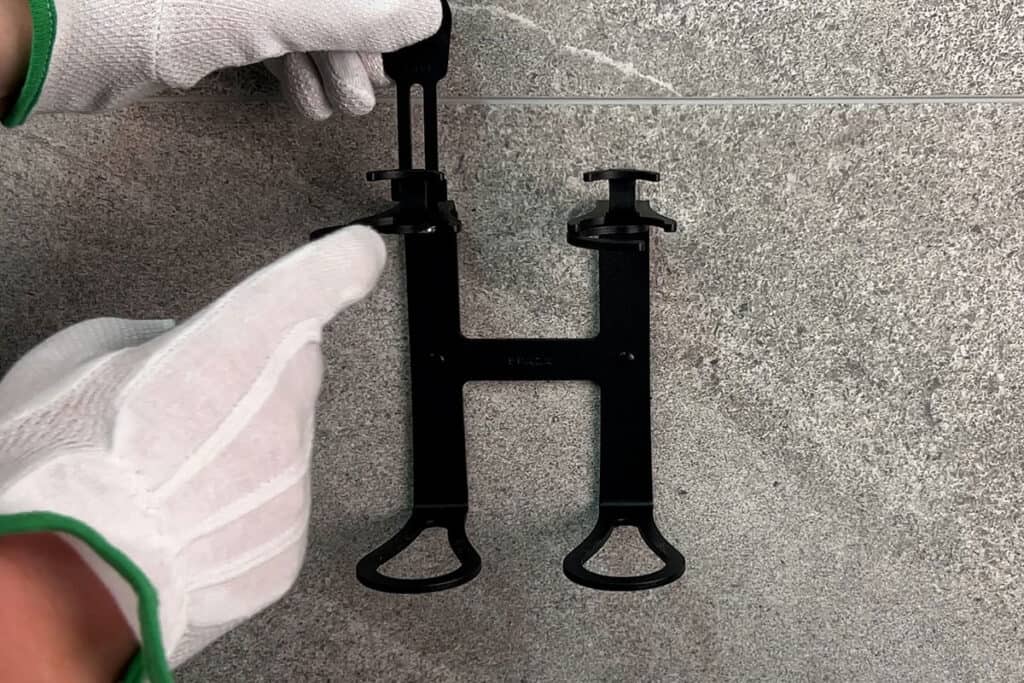
Place the Spaza key in the key slot, move the hook aside.
Place
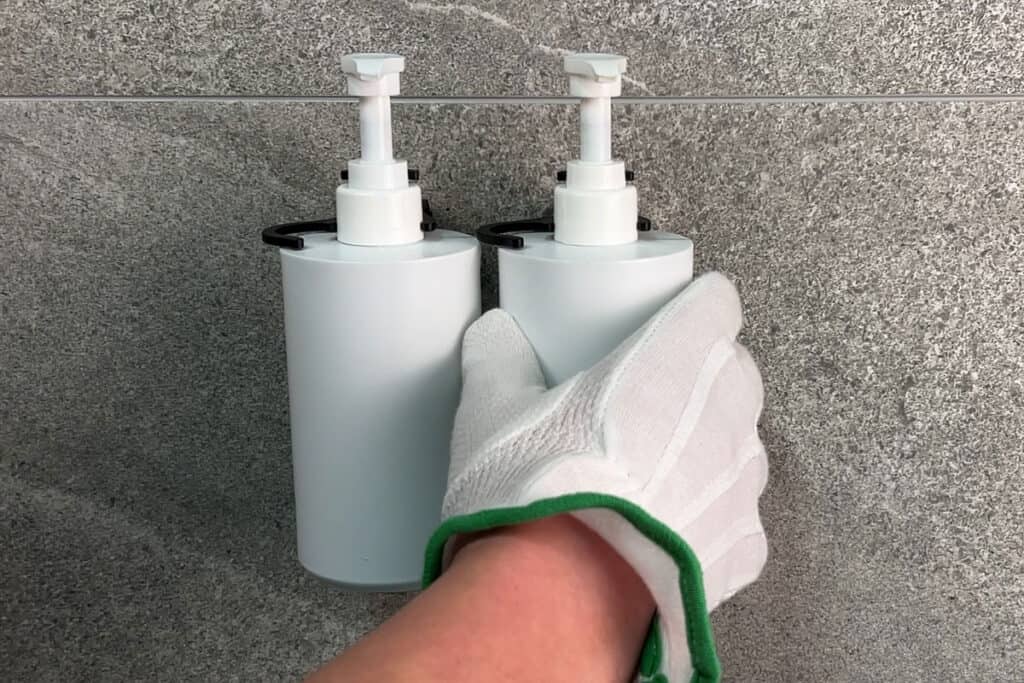
Place the bottle and swing back the hook around the cap.
Need assistance?
Ensure a smooth installation and effective problem resolution by contacting us! If you encounter any difficulties or have questions before your installation, do not hesitate to reach out. Our team is here to assist you every step of the way.
